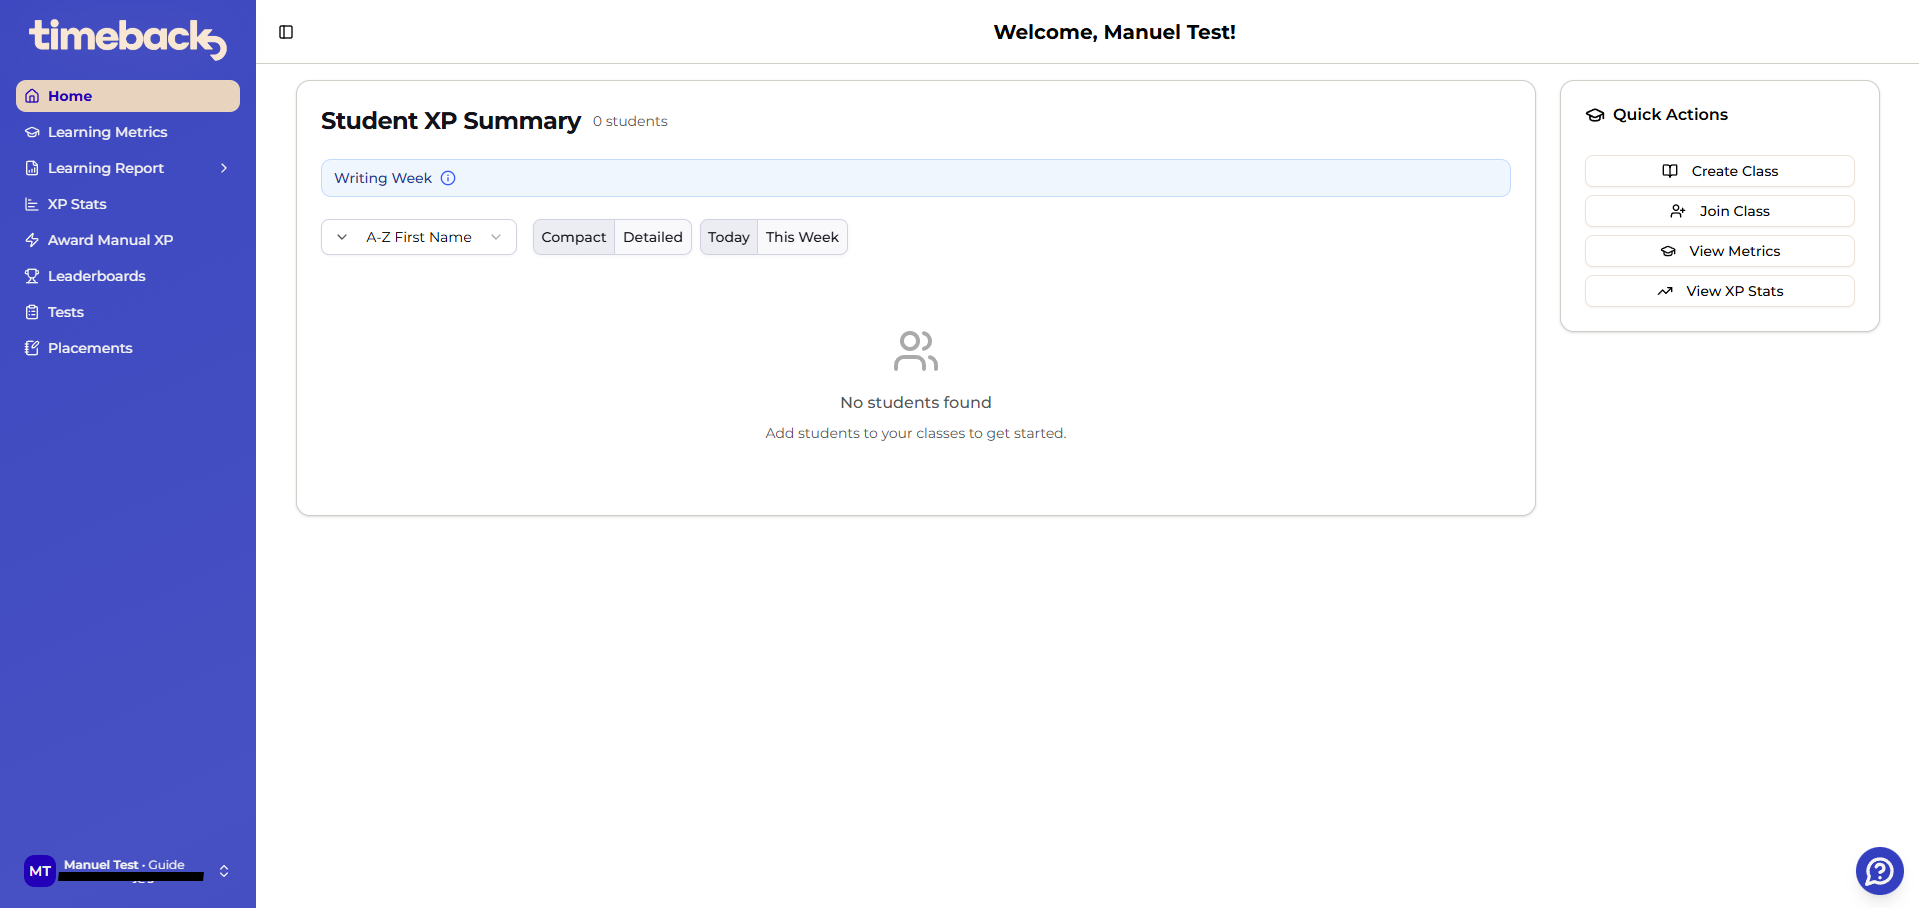
You’ve been onboarded and can now sign in to TimeBack Dash as a Guide, but your Home page may feel empty at first.
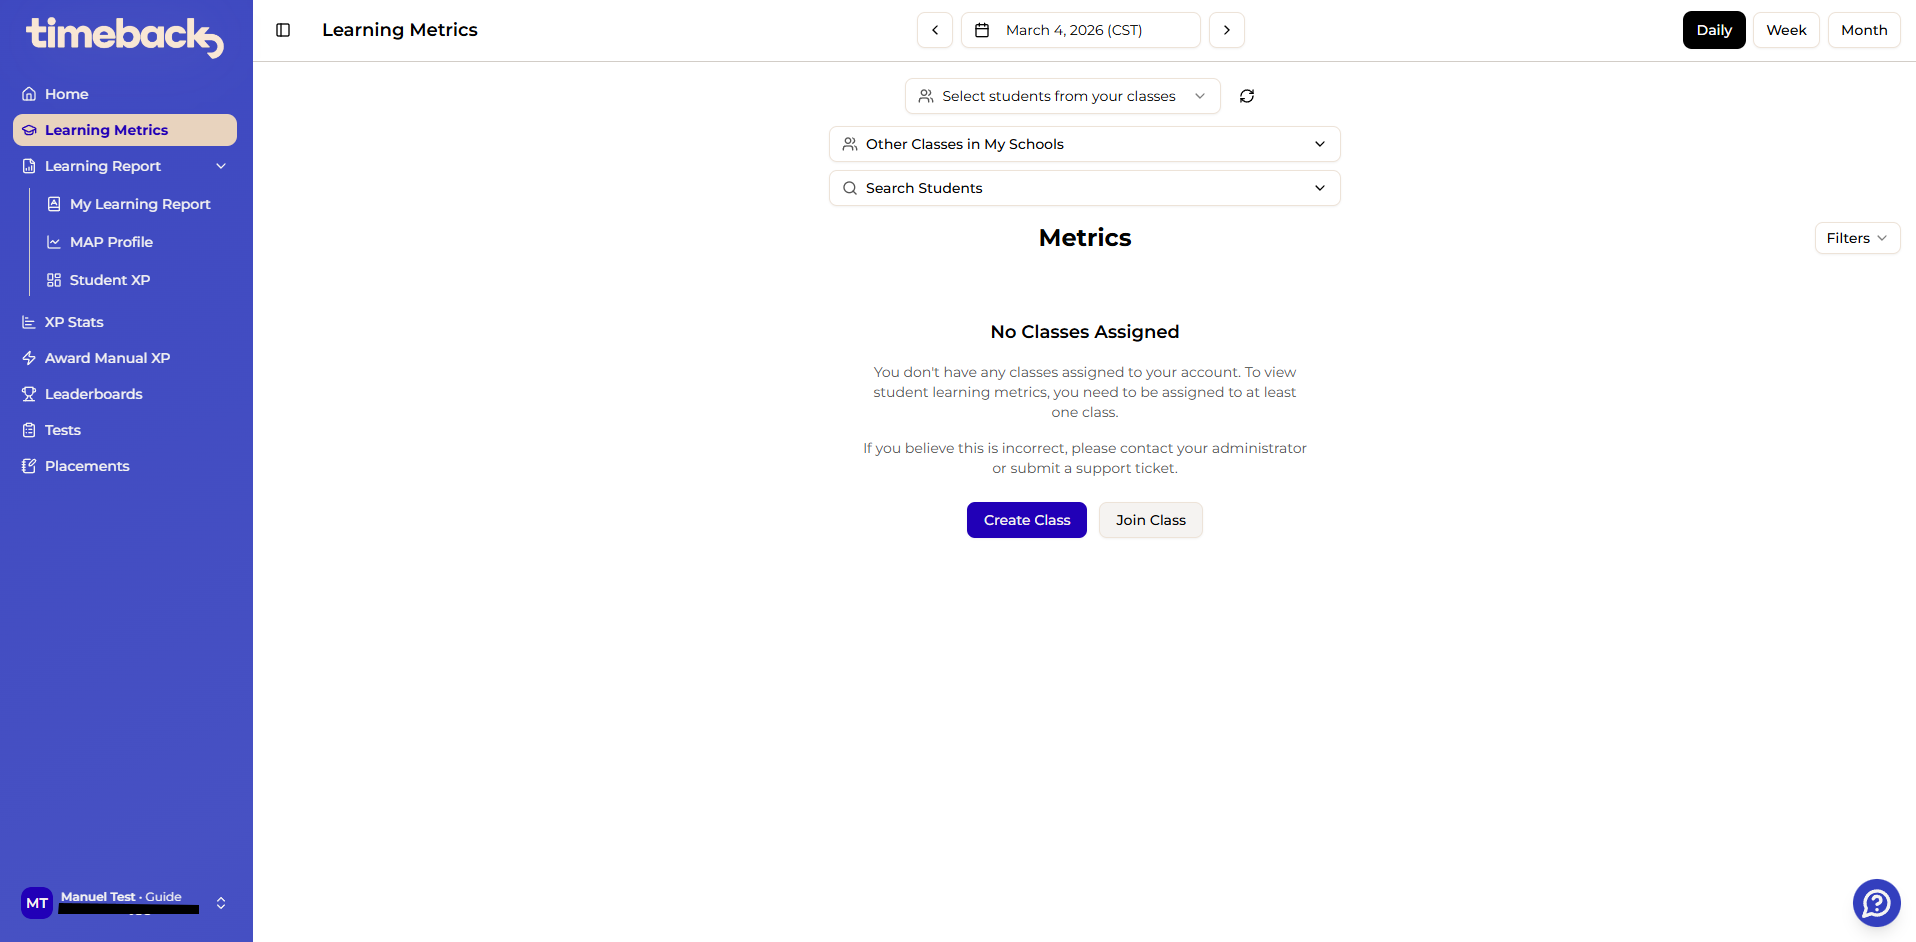
Also, in the Learning Metrics page, you may see messages about missing classes and prompts to create or join one.
For day-to-day use, you should be in a class. Once you join or create a class, TimeBack Dash will use class-based selectors to show your roster, and your Home page summaries will begin populating for the students in your class.
Join Class and Create Class appear on the standard Guide view of Home and Learning Metrics. They are not shown on specialized dashboards, such as the Dean of Parents dashboard. If you are a Dean of Parents, see the section If you are a Dean of Parents below.
Option 1: Join an existing class
- Click Join Class (from Home or Learning Metrics).
- Select the class you need from the list of available classes (often shared by a Lead Guide).
Option 2: Create a new class (and add students)
- Click Create Class (from Home or Learning Metrics).
- Follow the prompts to name the class and add students.
Removing a student from your class
- Open your class from Home or Learning Metrics.
- In the Students table on the class page, find the student you want to remove.
- Click the X in the Remove column for that student to take them off the class roster.
This only changes who is on your class roster. Only remove students who no longer belong in that class (for example, students left over from a past term or session). If the student also needs course enrollment changes, or you don't see the Remove column on your class page, contact Support.
Important limitations:
Organization scope
You can only see students and classes within your campus. If you moved campuses or can’t find expected students/classes, contact Support with details about what you expected to see, what you actually saw, and the exact page you were on, and the team will work on correcting your access.
Administrator role and the role switcher
If you also hold an administrator role, your TimeBack Dash session starts in administrator mode, which shows campus-wide selectors instead of your “My Classes” class picker. If you cannot find your own class in the picker:
- Use Switch Role and choose Guide.
- Select your class.
- Check both Learning Metrics and XP Stats. XP Stats can default to All Classes, so you still need to select your class there.
New campuses
As a Guide trying to join a class for a new campus, you will see this message:
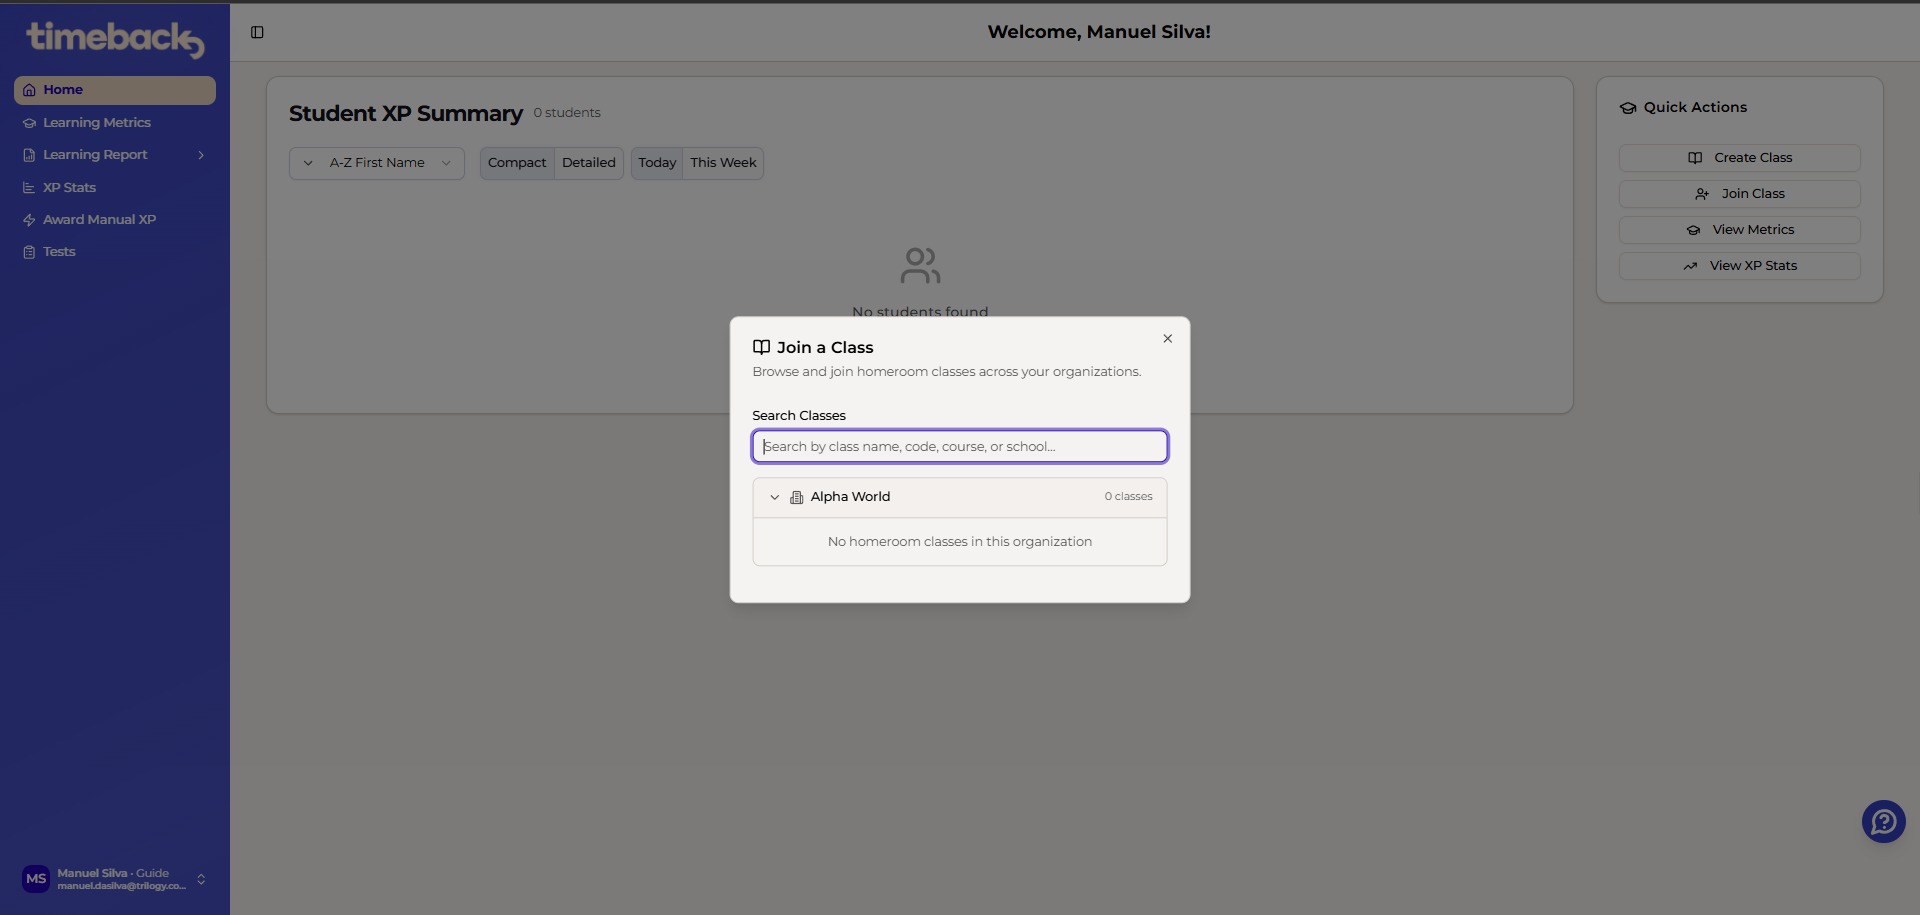
Tip: You will also need to create a course and term for new schools. The prompts to create a class will guide you through the process.
Campus-wide "All Students" classes
Campus-wide "All Students" classes cannot be created self-serve: there is no bulk add-students path, and per-student adds into a class reusing the campus/homeroom course fail with "Student already enrolled in course with same app and subject."
- If you need one level or group (for example all of L1 at your campus), you do not need Support. Use Join Class to pick the existing level class shared by your Lead Guide. If it is not listed, ask your Lead Guide to share it. To build your own group, use Create Class and choose the Advisor group option.
- If you need every level, first open your class selector and check whether a campus-wide class for your campus is already listed. You may be a teacher in several classes, such as a campus-wide class plus per-level classes. If it is listed, select it there. You do not need a new class.
- If you do not see a class selector at all and you also hold an administrator role, see Administrator role and the role switcher above.
- Only if no campus-wide class exists for your campus, or it is missing students, contact Support to request one.
Pages that show your whole organization, such as the Dean of Parents student search, include applicant, shadow and summer records, so their student count is higher than the number of students attending. Your class view shows only the students in your class. A higher count on an organization-wide page does not mean your access is wrong.
If you are a Dean of Parents
If you are a Dean of Parents or Associate Dean of Parents, you do not need to join or create a class. Your Learning Metrics page works differently: it has no class selector and no Join Class or Create Class buttons, and you search for and add the students you want to see. Use the dean tools on your Home page (such as Academic Snapshot, End of Week Report, Learning Report and Student Facts), or the impersonation card to view TimeBack as a student, parent or guide, instead of looking for a class. If students from a previous campus keep appearing after you changed campus, open Learning Metrics and click Clear All once, then add your current students from the search. If you still cannot see your campus students, contact Support, say that you are a Dean of Parents, and list which campus or campuses you cover.
Manuel da Silva
Comments